1- Inspection
100% Inspection systems have experienced a substantial increase in operating capacity and performance.
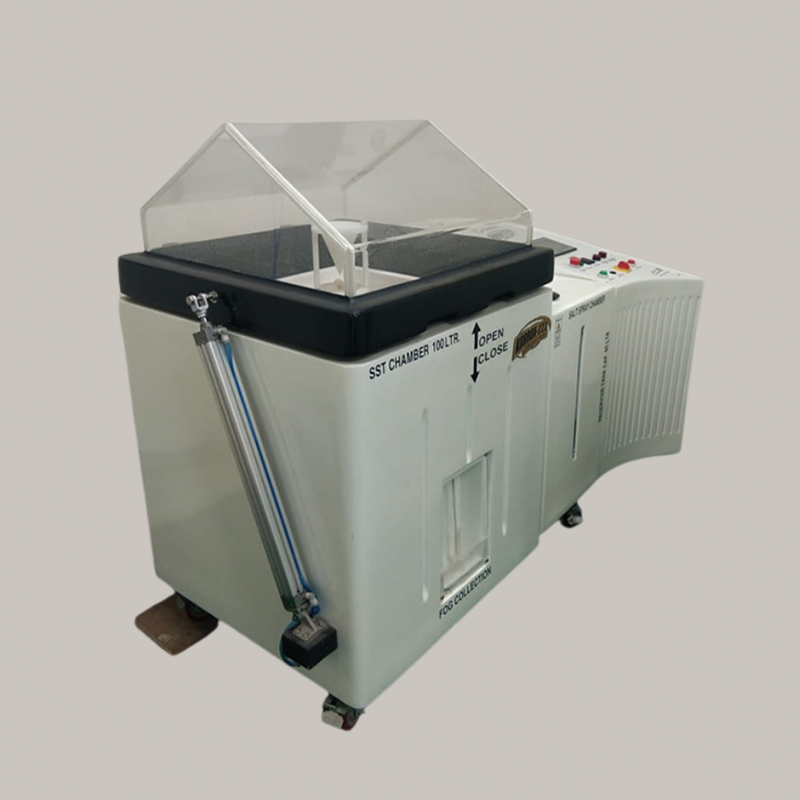
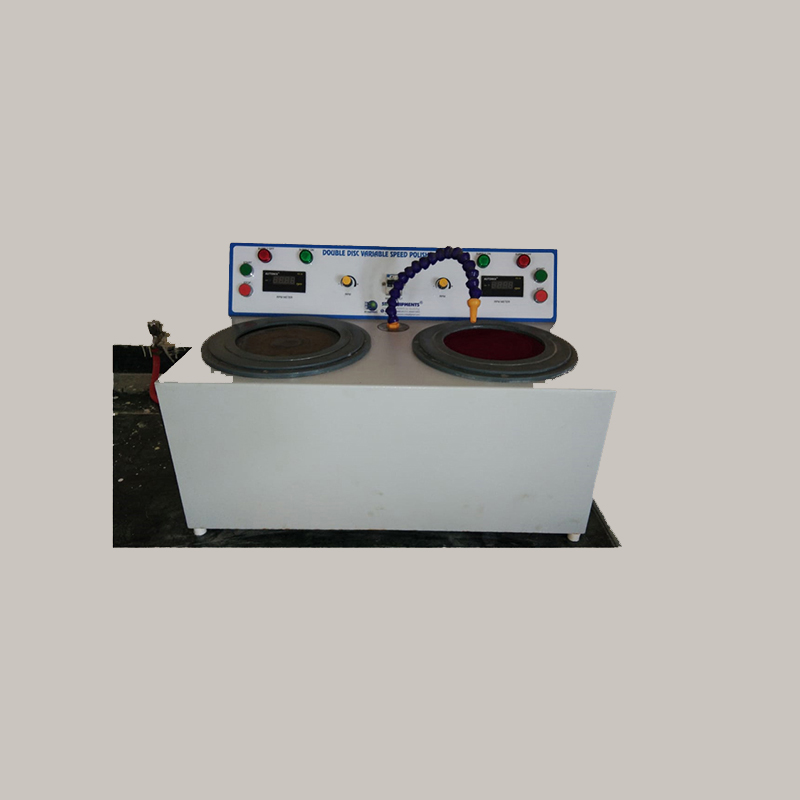
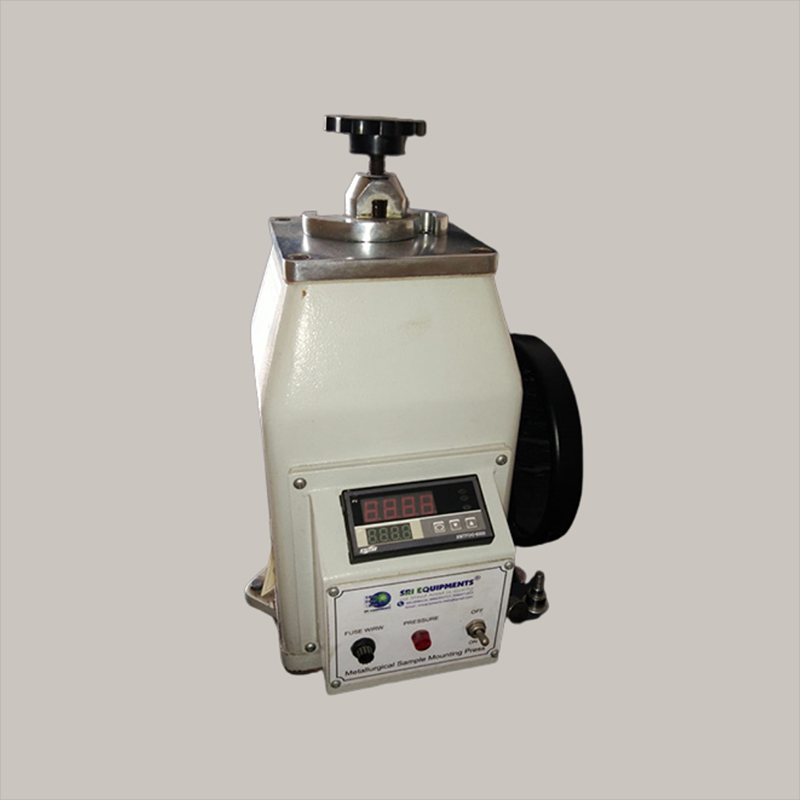
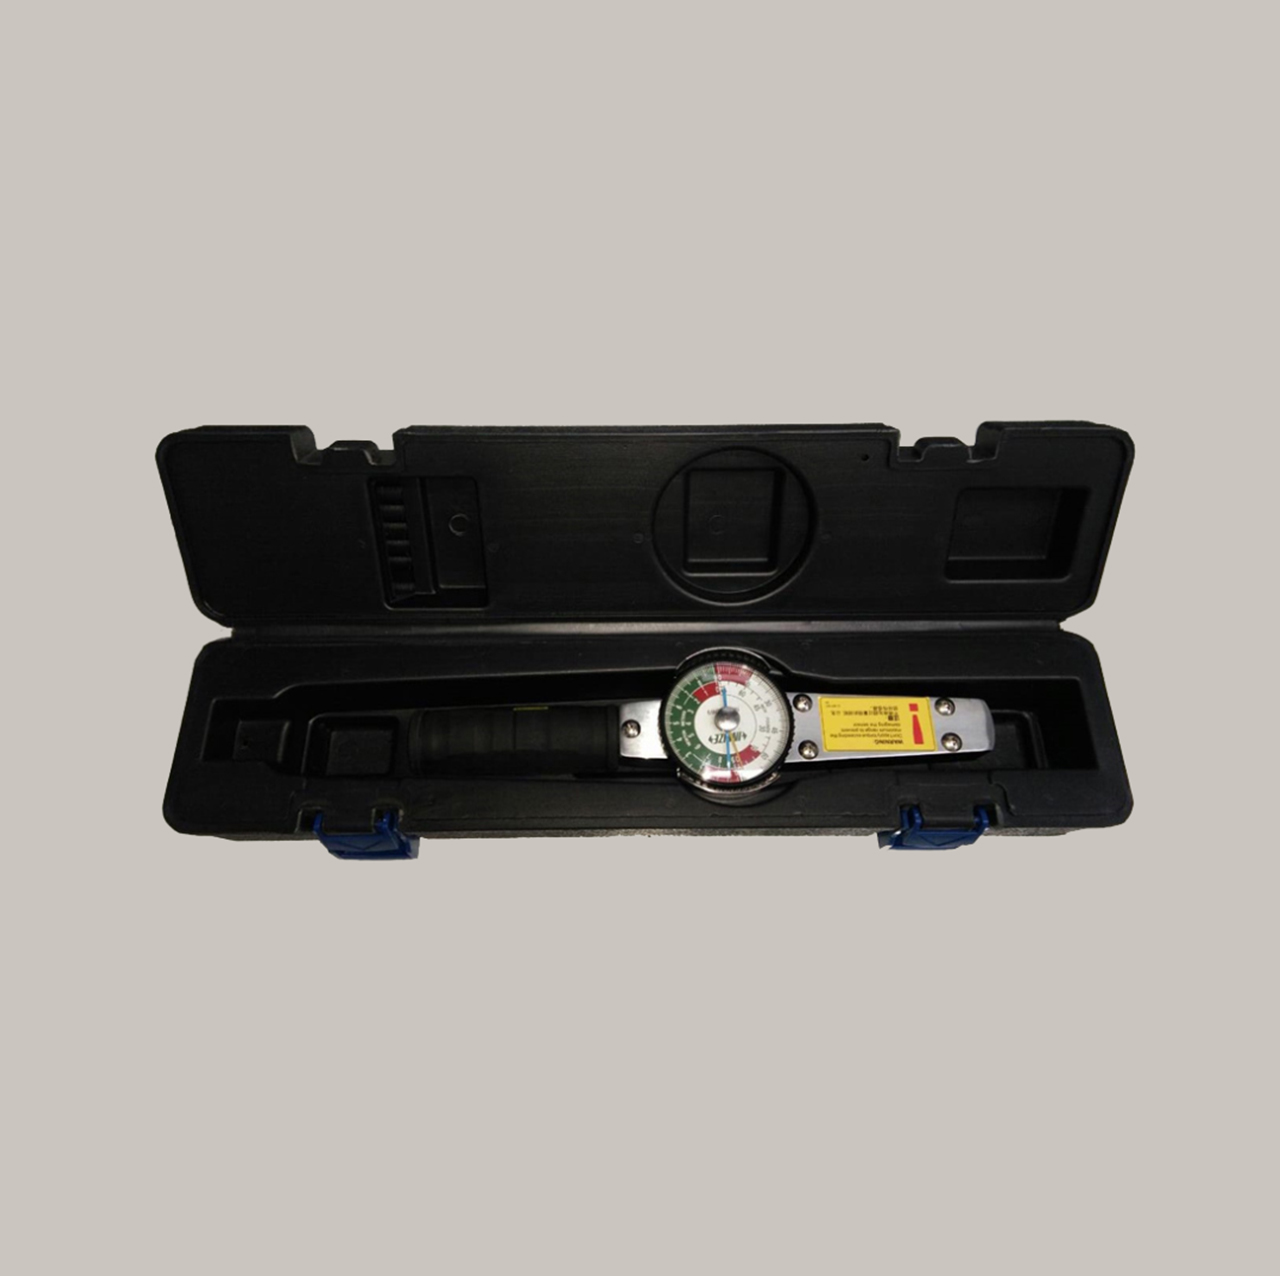
100% Inspection systems have experienced a substantial increase in operating capacity and performance.
We examine how many fasteners should be used per job.
We ensure that we can meet the manufacturability and quality requirements of the parts supplied to the customer.
The PPAP levels documents that need to be submitted to the customer.
Quality Assurance as per Iso 9001:2015
Single window for multiple types of Fasteners
Trained Suppiers for OEMs
All supporting data submission to customer as per PSW level 3
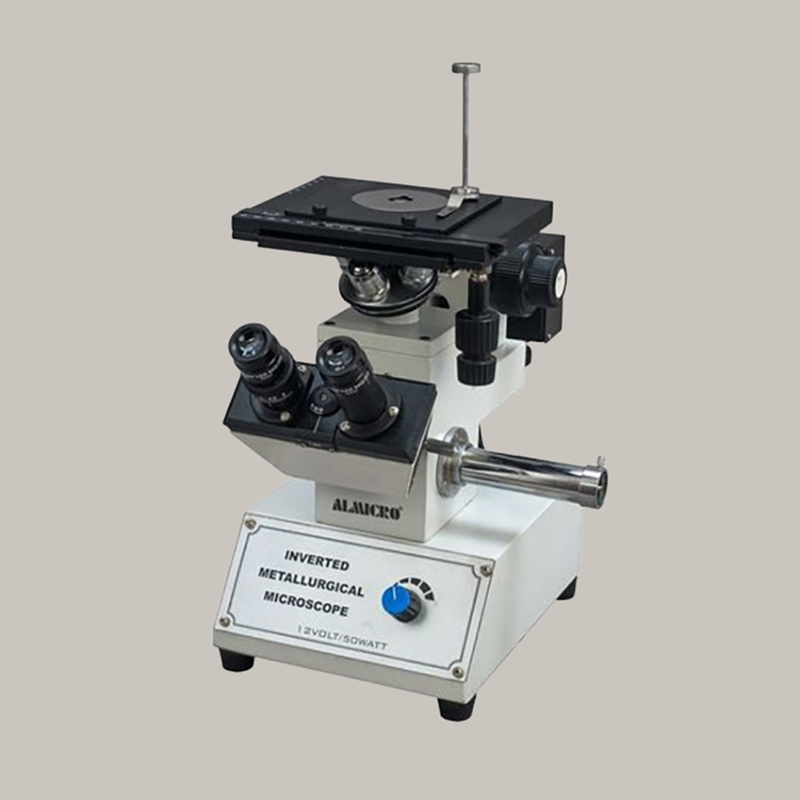
Piyush Engineers performs high quality testing in “Metalargical Laboratory” under Experienced Engineers.
| Raw Material (Inspection Method) | ||
|---|---|---|
| Inspection Parameter | Purpose of testing | Instrument Used |
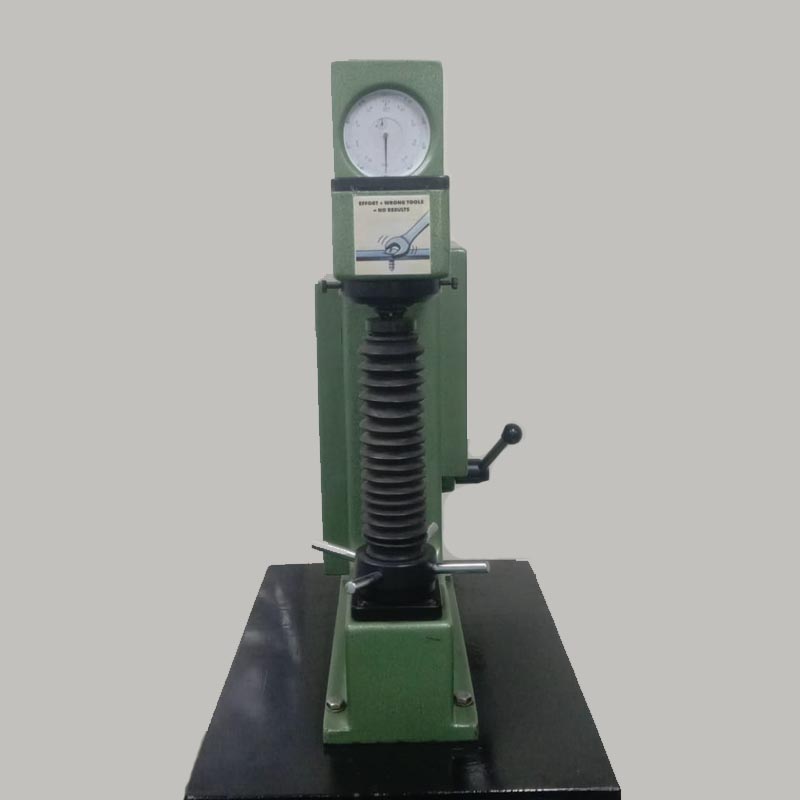
| Hardness | Hardness at Face/Dia | Hardness Tester |
| Mechanical Strength | Tensile Test/Dia | Universal Testing Machine |
| Chemical Composition | % of Element Present in Raw material | Spectrometer |
| Bolt (Finished) | ||
|---|---|---|
| Inspection Parameter | Purpose of Testing | Instrument Used |
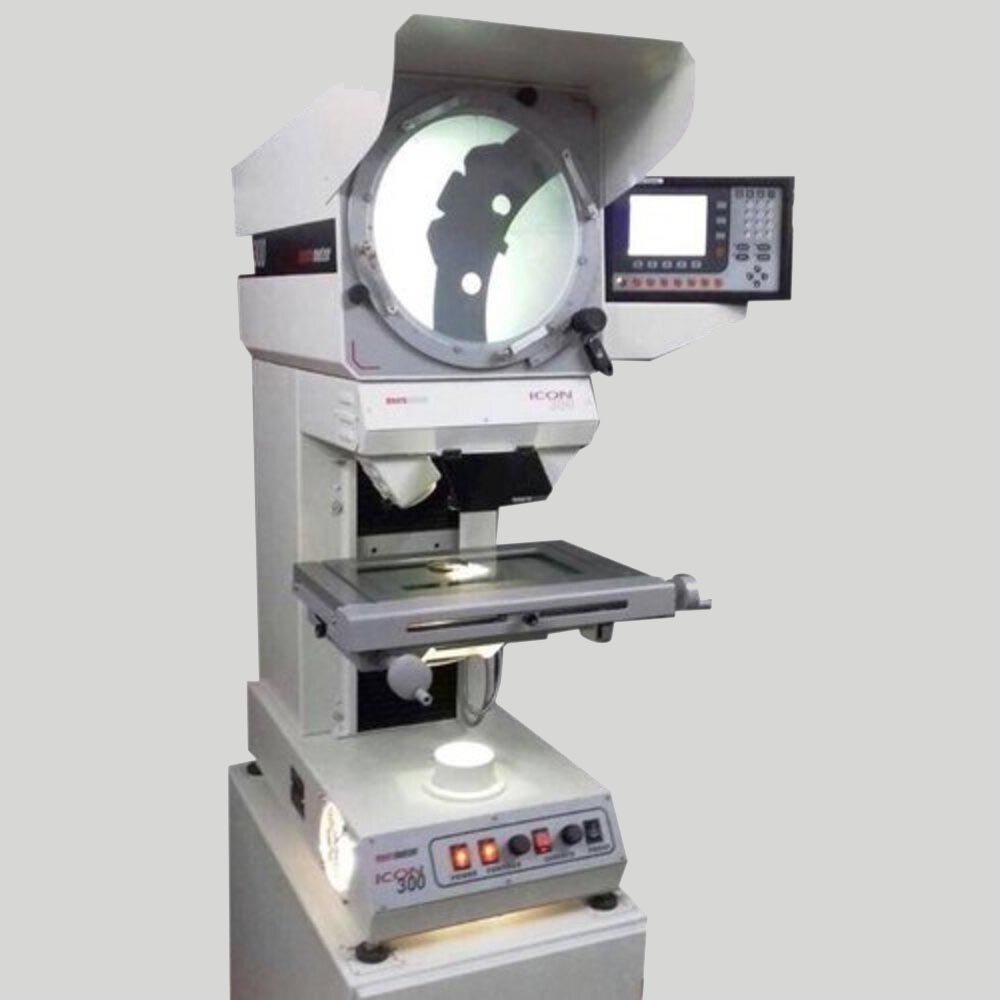
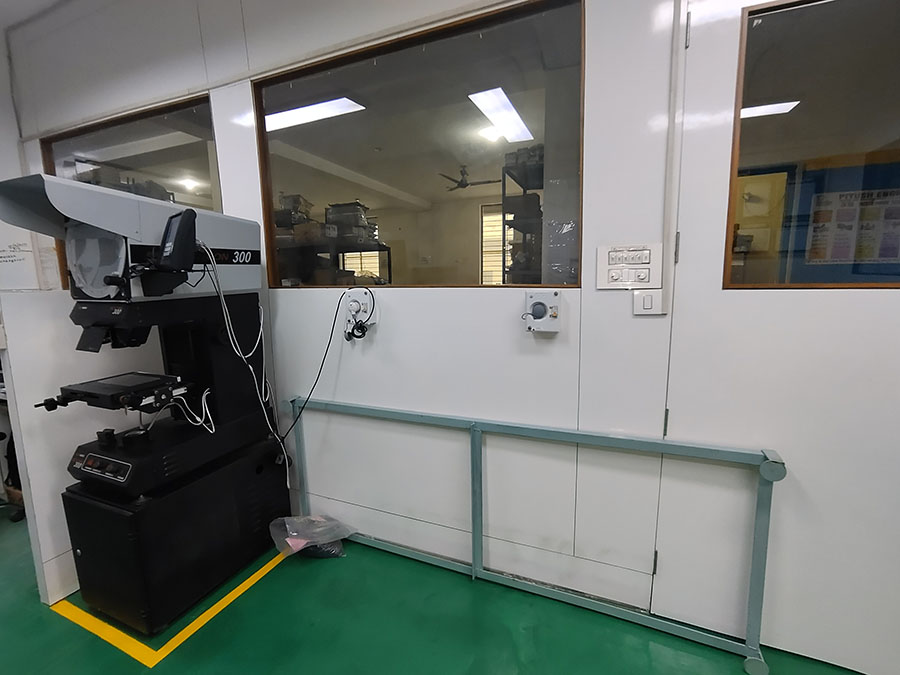
| Visual | Dent, Rust, Plating, Shining, Crack, Presence of Unwanted Material on Surface | Profile Projector |
| Head | Across Flat, Across Corner, Thickness | Micrometer |
| Shank Dia | Shank Dia | Micrometer |
| Rolling | Rolling Dia | Micrometer |
| Rolling | Rolling Length | Vernier |
| Hardness | Hardness at Face/ Dia | Hardness tester |
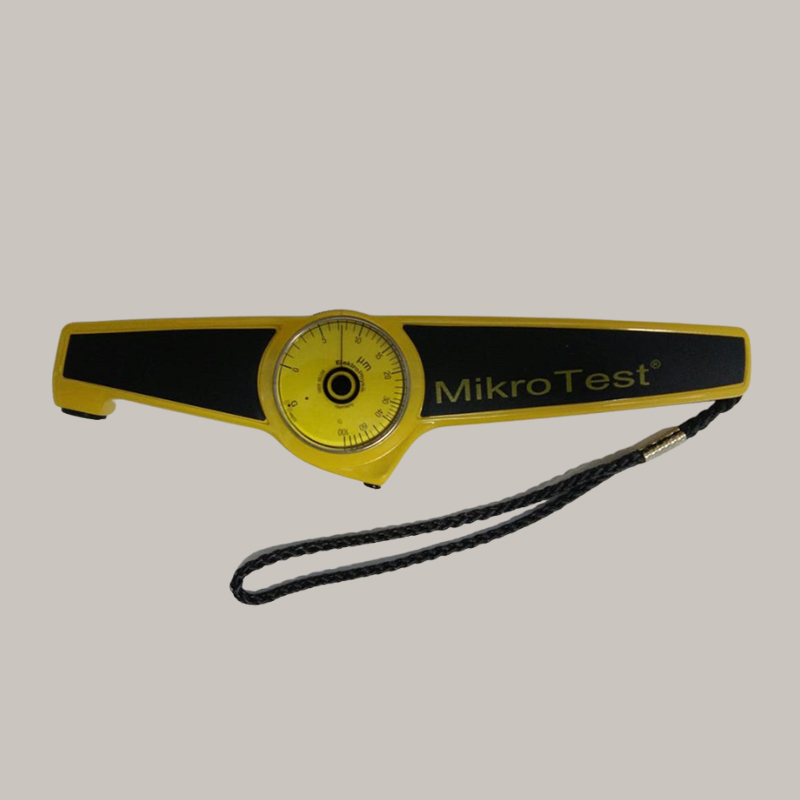
| Plating | Thickness of plating over all | Dry film Thickness |
| Plating | Life of Plating | Salt Spray tester |
| Torque | Break even Point | Torque Wrench |